An image is more effective than text, and such images are known as an infographic. In Google Docs you can send images behind text or add text on images by a straightforward method, it is also simple to do.
In Google Docs image behind the text is what we called to add a watermark on Google Docs. You can put an image behind the text by adding a text box over the image or by direct option Behind text.
Here we will learn how to put image behind text in Google Docs without using third-party software and make the image movable.
How to put image behind text in Google docs
Open Google Docs document in the Web browser on your computer.
Add your image that you want to put behind the text through the “Menu bar”, click to “Insert” navigate to Image then click on Upload from computer in Google Docs.

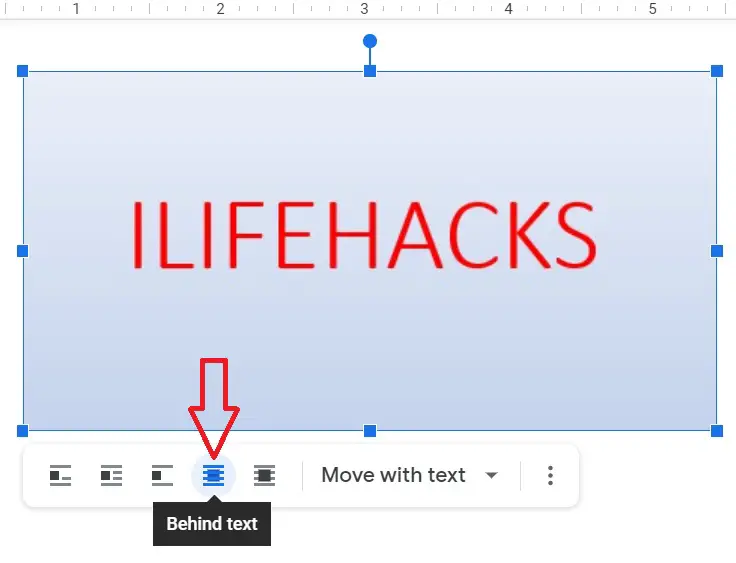
After adding the image in the document click on that image so that you will see a small menu under the picture. Click on the Behind Text option fourth from the left side to send an image behind the text in Google Docs.

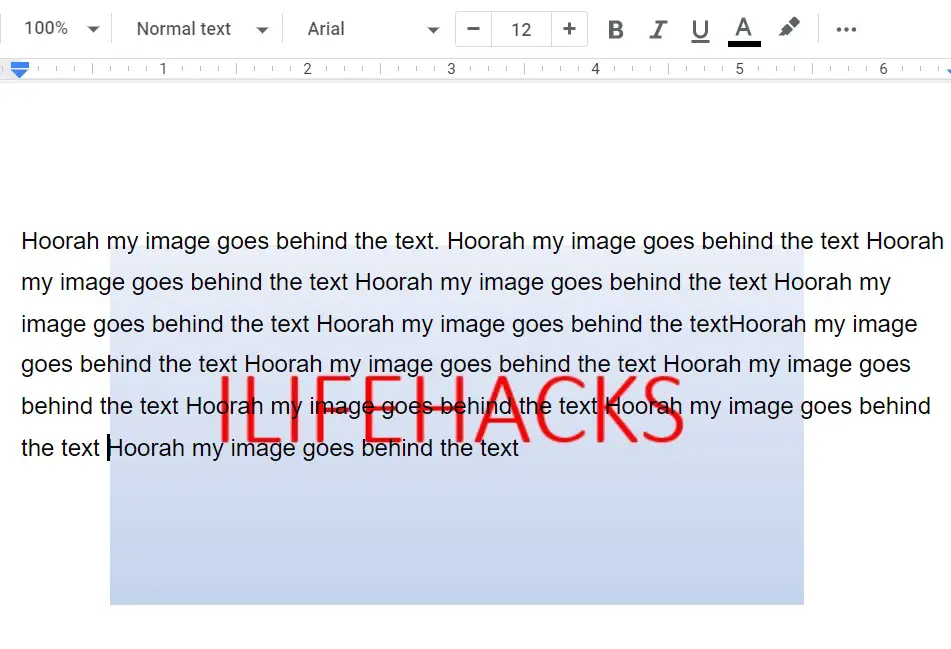
Now your image is set and placed as a background image in Google Docs. Now, whatever text you type over a picture in the editor, the text will be written in front of the image.

How to move image behind text in Google Docs
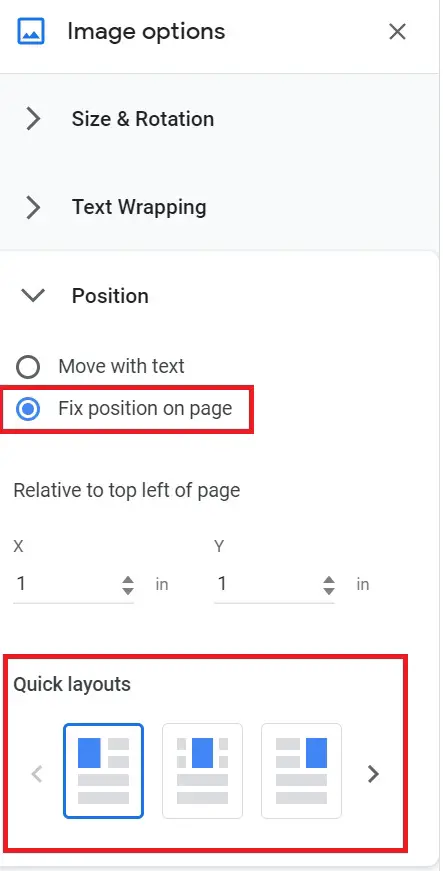
First, you have to click on the image then click on three vertical dots below the image, on the ride sidebar under Image options click the Position option and then move and set the image behind the text via Quick Layouts.

If you are facing any issue while searching the option then simply click and drag the image which you have uploaded in Google Docs from the mouse, and drop it where you want to place it.
How to make an image go behind text in Google Docs using Text Box
Now we will see how to put image behind text in Google Docs using a text box.
To put images behind the text, Open a Google Docs document.
- Upload an image in Google Docs that you want to use as a background image.
- Go to Insert > Image > Upload from computer: Drive, Photos, Camera, URL can also be used for uploading an image

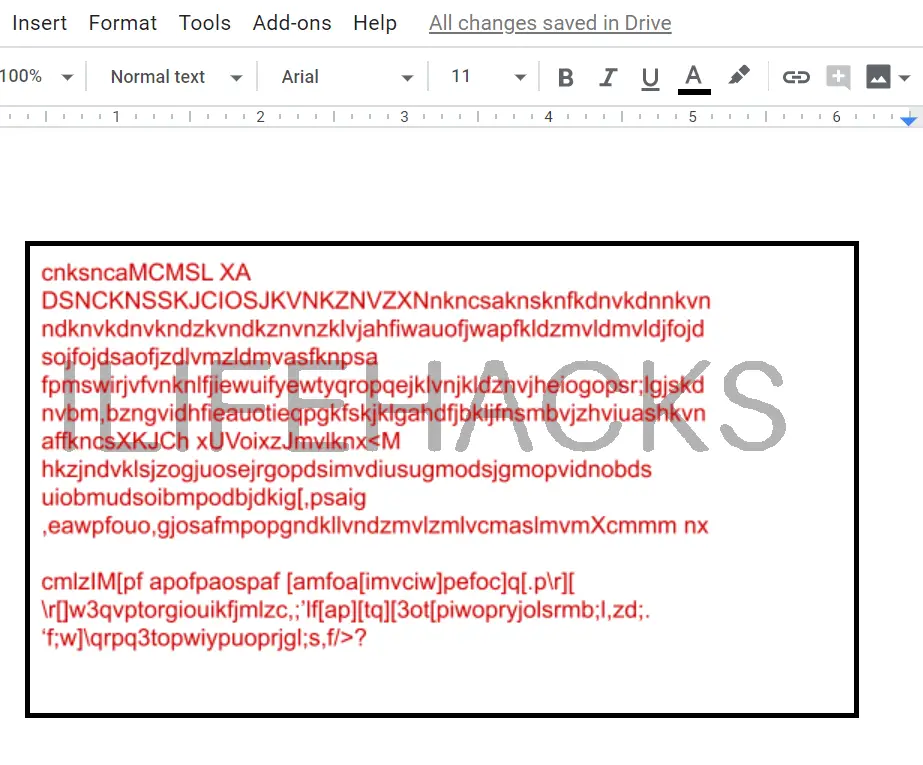
- Adjust Image Transparency: On the right sidebar under image options, increase the transparency of the image so that when your image goes behind text or paragraph will get visible while writing and Google docs set the picture as a background image.

- Add a new text box over image: Now add a new text box to Google docs via Insert -> Drawing -> New, click on icon T ( text box) and draw a text box by drag n drop with help of the mouse and resize it.
- Write your necessary text or paragraph in the text box and adjust the fonts, color, etc

The text box method can be used for only one or two images. If you have a long document, then simply download docs as a Word document and add a watermark via Microsoft Word.
In Google Docs image behind text can be tricky, but by following the above steps, you can place and move image behind text Google Docs, or you can write on that image.
How to change background of Google Docs?
Insert or upload any image in Google docs and adjust the transparency of the image to add background.

