How to Put Text Over or Behind Image in Google Slides
In Google Slides presentation, most users face struggles to add text over a picture, adjust the transparency of the image, and how to remove background.
In this tutorial, we will learn how to put text over an image in Google Slides, text around a picture, and picture behind text in Google Slides.
There are two ways to put text over an image in Google Slides, one is with the help of a text box and the second built-in image options feature, i.e., to set the order of picture.
How to put text over an image in Google Slides
Here, we will use a text box to put text over an image. Through the text box, you can write the text anywhere on the slides at the top, bottom, etc. but we will insert text middle of Google Slides.
Open Google Slides
Open Google Slides on the Web browser on your computer.
Add Image
Add an image in which you want to put text go over a picture,
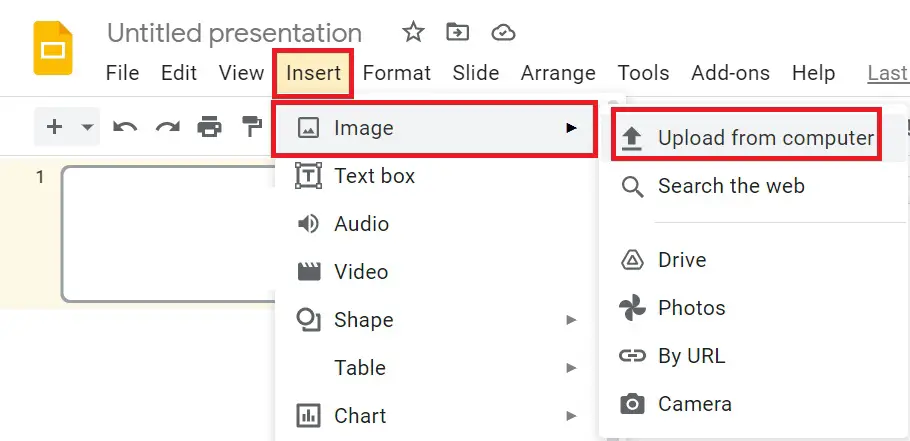
Go to “Menu bar” click to “Insert” options then search to “Image” then click to “Upload from computer” to insert a picture in Google Slides presentation.

Make a Text Box over an Image
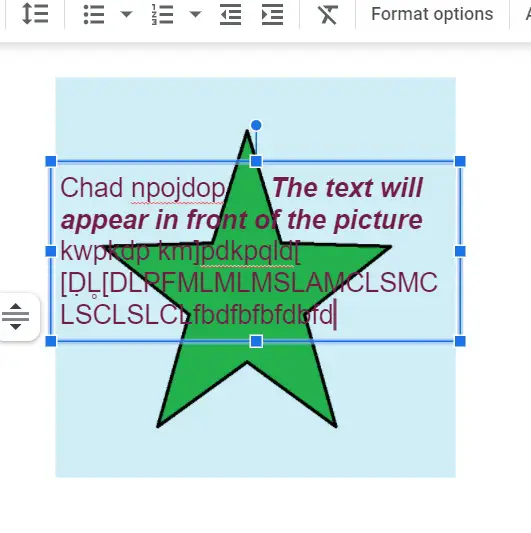
Now make a text box over a picture in which whatever words you write all the words will appear in the front of the picture.
To make a text box in Slides you have to click “Insert” in the “Menu” bar then click “Text Box”.
With the help of a mouse, click and drag to create a text box in front of the picture.

Write Text over an Image
Now write the required text in the box you have created. If you want to wrap text around a picture then make a text box around anywhere of the picture, adjust the image and write the text in Google Slides.
How to put an image behind text in Google Slides
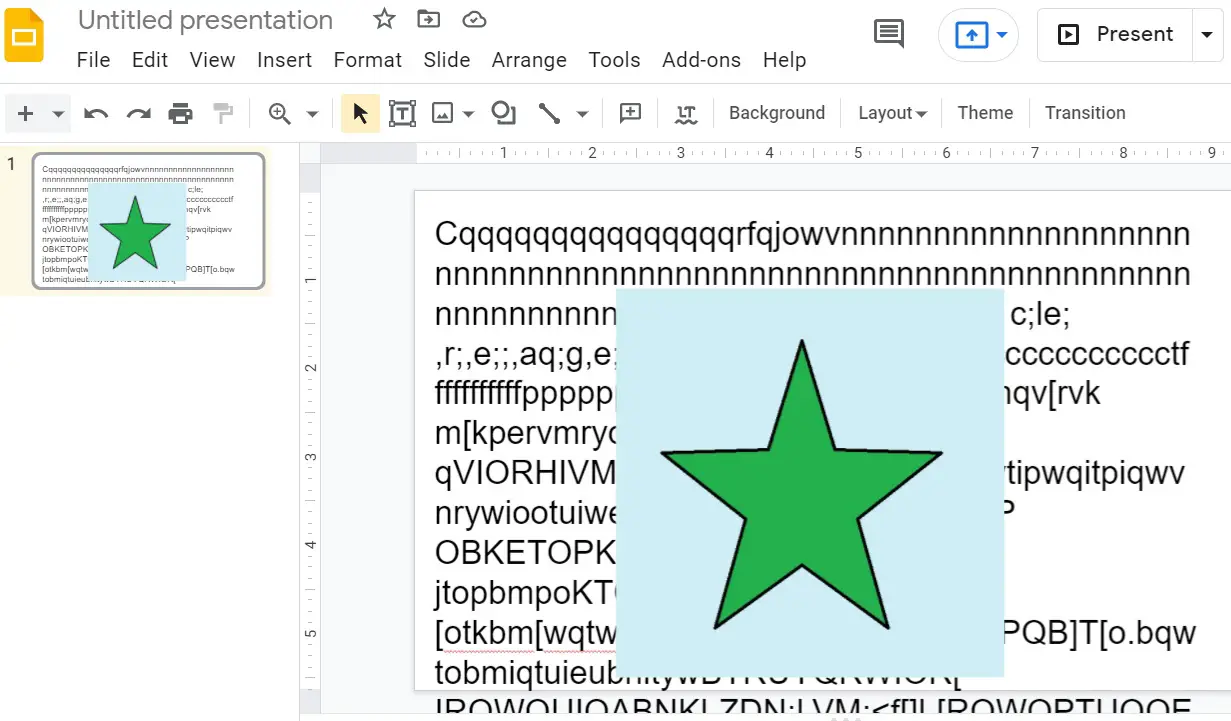
If you already have written the text in Google Slides presentation and want to put image behind text Google Slides like a background image then you can set the Order of the picture.
Assuming that you have already created a slide in which text is written.
Now insert an image in front of text by going to the “Menu bar” then click to “Insert” options and navigate to Image and click to “Upload from computer”.

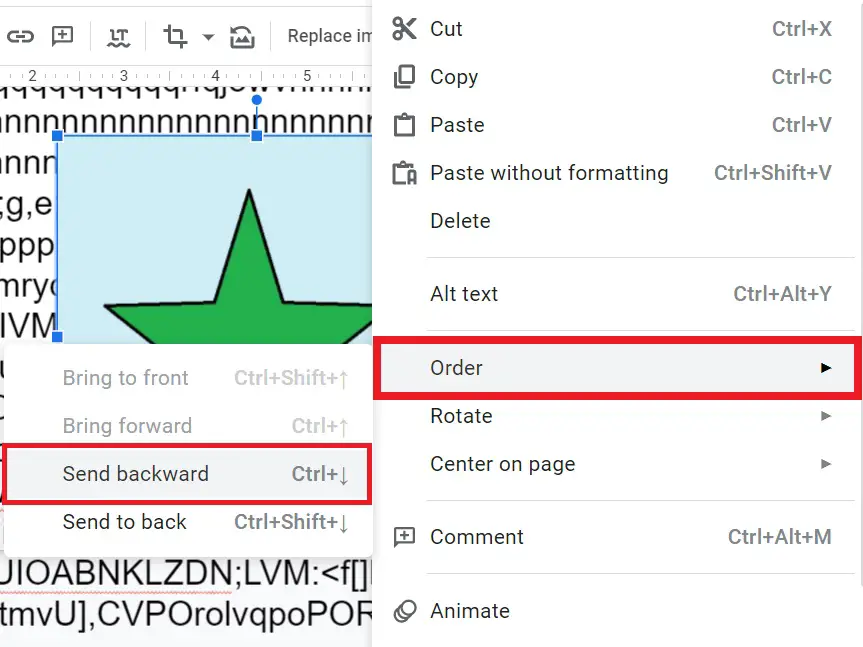
Now right-click on the picture, then navigate to Order option from the list and click to Send backward or use the Ctrl+↓ keyboard shortcut from the keyboard.

Thus, your image or picture will go behind text and the text will come in front of image in Google Slides.
These two methods are the best for how to put text over an image in Google Slides and also put image behind text in Google Slides.